DIY: Seeds of happiness
A sweet way to spread smiles and happiness all around
With Hanukkah coming to an end, I think it’s a wonderful time of year to keep the Hanukkah light shining bright by participating in an act of kindness! You can tell your children that doing something kind - even just smiling - has a ripple effect, like the waves in a pond spreading out in all directions from a skipping stone. Kindness starts with a smallest circle in the center (you) and then moves outward - growing, expanding, and reaching further out. Science even agrees! When we experience something positive, we are able to happily affect the emotions of other people as well!
Photo Credit: Snappy Shutters
I think it’s important throughout the year to give children and pre-teens the opportunity to do something kind for someone else; and since Hanukkah just ended, we decided that right now was the perfect time to share a smile.
A couple of years ago, I was in a store and stumbled upon on these adorable clay smiley faces called “Seeds of Happiness.” They are created by artist Mark Borella who began making and giving them to friends who were going through hard times.
Seeds of Happiness created by the “Seeds of Happiness Guy,” artist Mark Borella
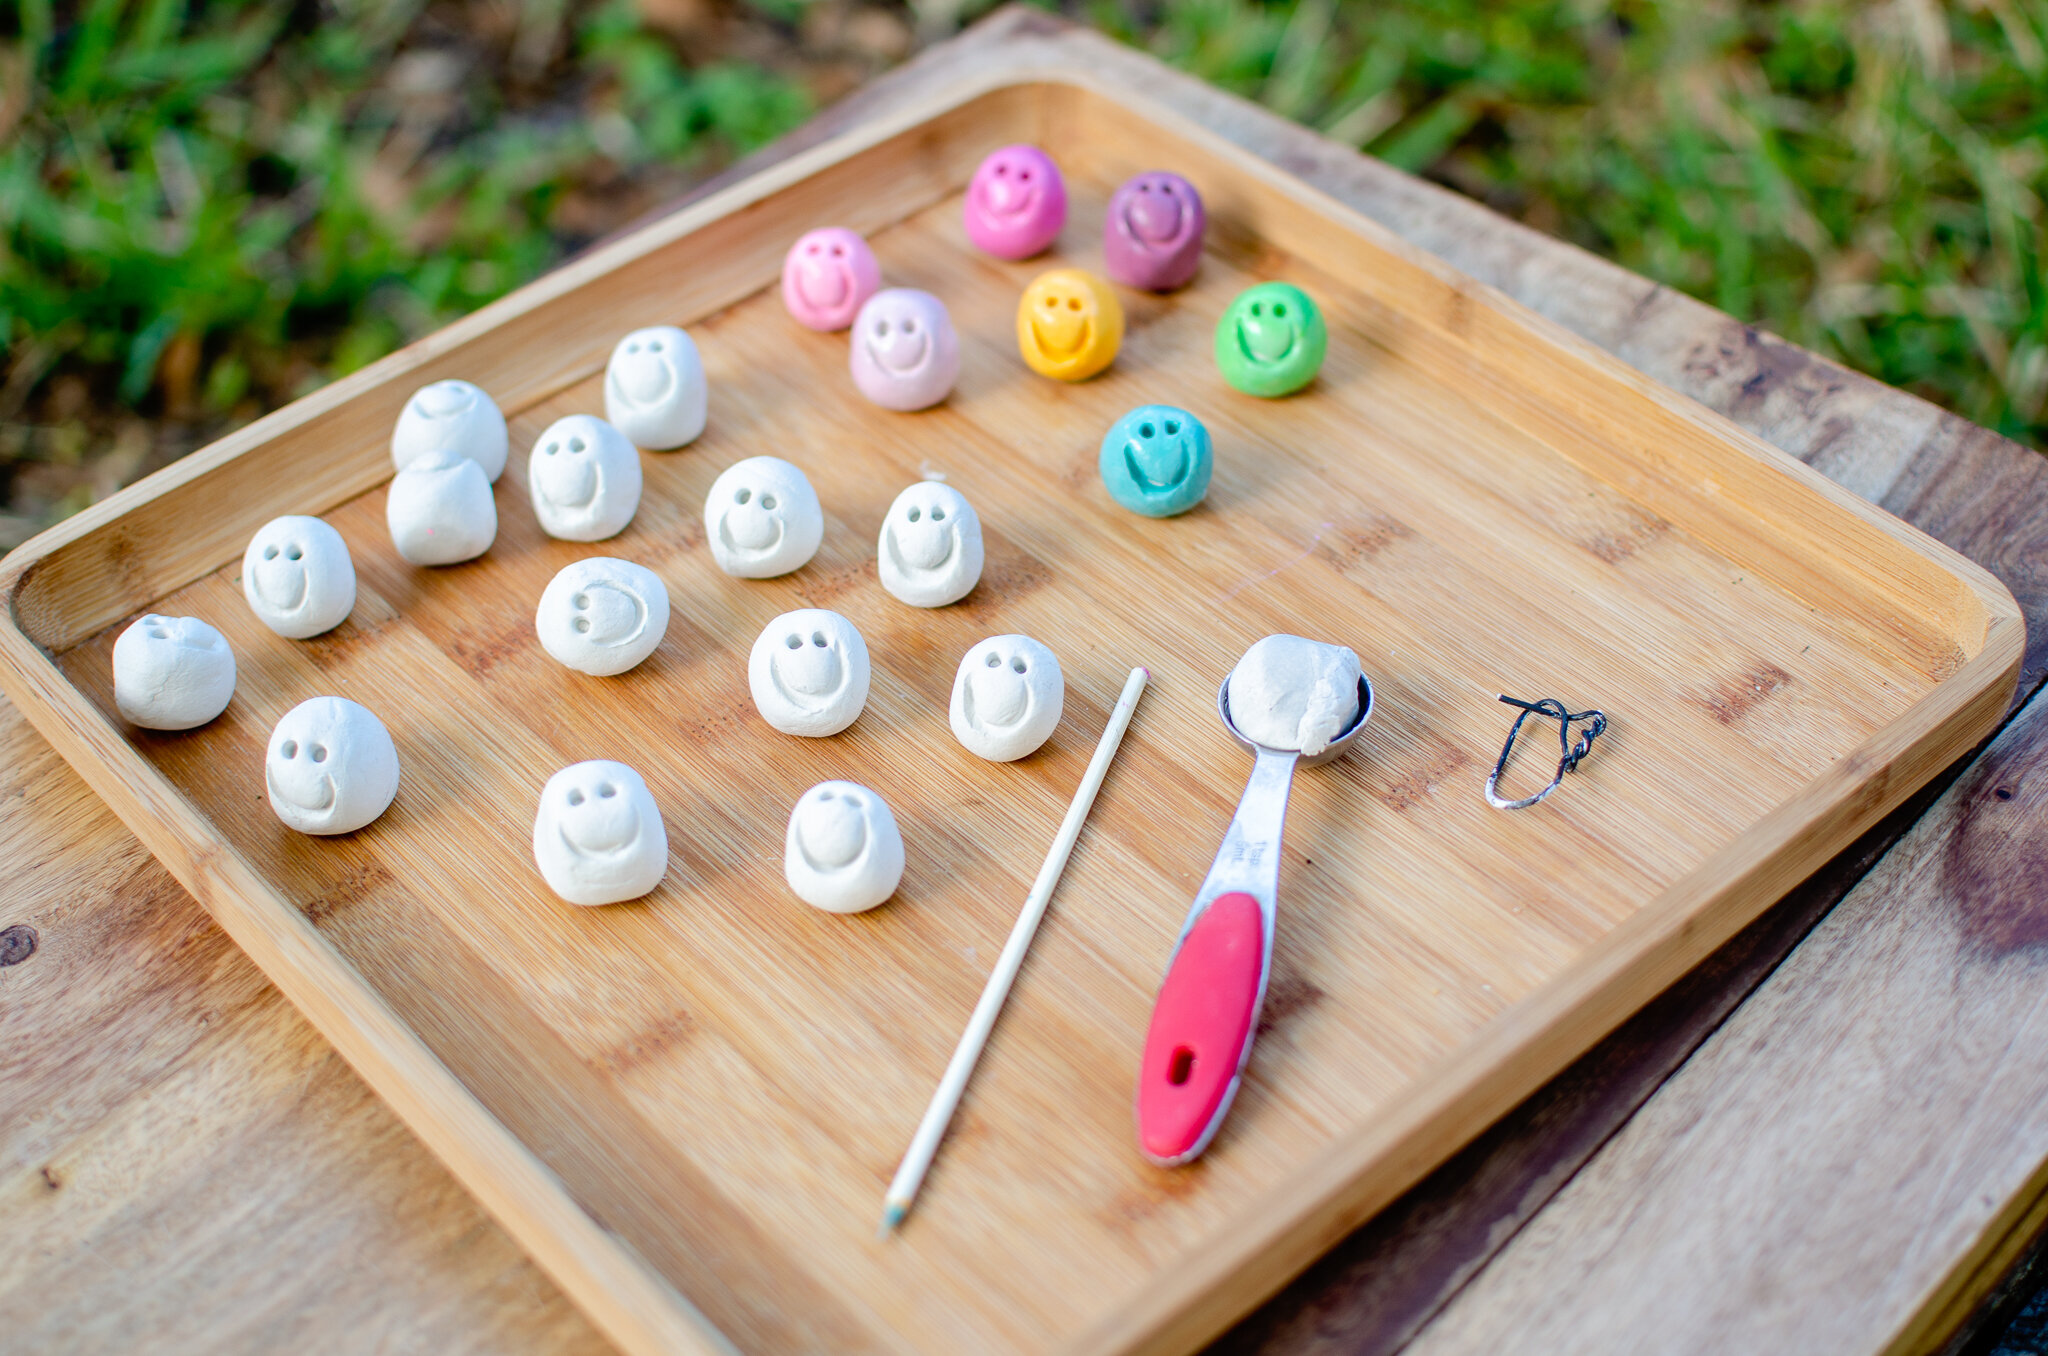
Today, we decided to make a DIY version of “Seeds of Happiness” to share with friends and family. You’re invited to make them with us too. As the artist says, they’re made with lumps of clay. So let’s go make a DIY version of Mark Borella’s “Seeds of Happiness!”
Seeds of Happiness
Here’s what you’ll need to make your own!
Air dry clay
Paper clip
Bamboo skewer (we used the short skewers)
Teaspoon
Acrylic paint
Paint brush (we used a flat brush)
Modge Podge
Sharpie
Linen bag (optional)
Stamps (optional)
Here’s how we made them:
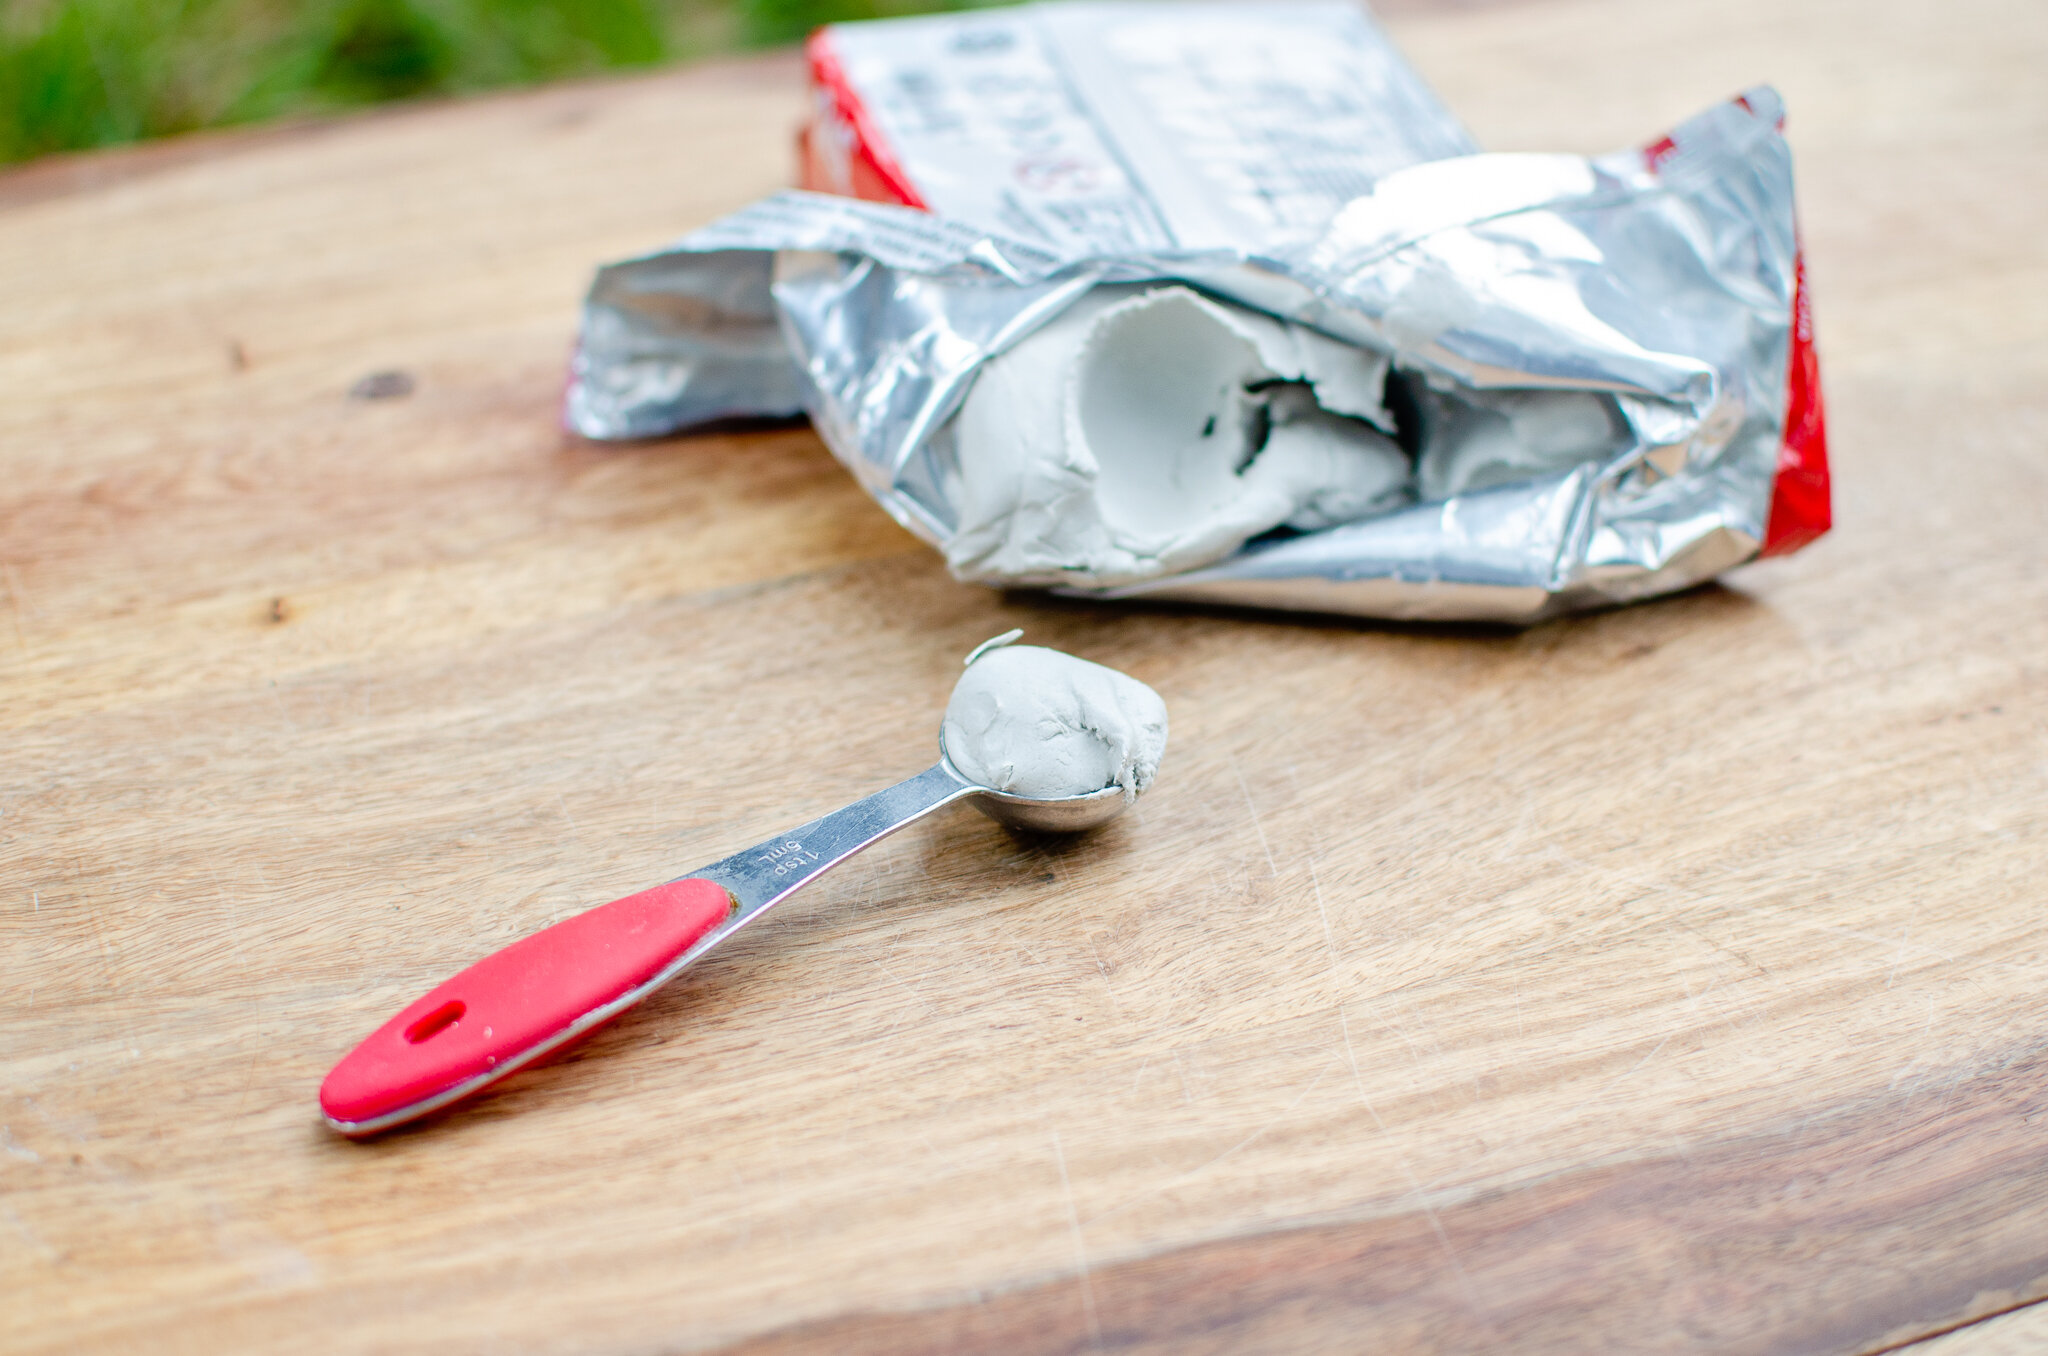
1. Open your bag of clay and scoop up a lump of clay with your teaspoon!
2. Take the lump out of the teaspoon, and roll it into a ball. Young children are very good at rolling! If your clay is dry or wrinkly, you can dab a little water onto the surface to keep it smooth!
3. Take your paperclip (we bent ours in a funky way), and press the bottom “U” shaped end into the front of the ball. This will become the smile!
4. Take the flat side of the bamboo skewer and poke two holes above the smile. These will become the eyes!
5. And that’s it! You made a Seed of Happiness! It took us a few tries to get used to working with the clay. So be patient! Make extra to give as a gift to anyone who might need a smile.
But wait…we’re not done yet!
6. Let your seeds air dry for one day, and then it’s time to paint! Young children are very good at painting!
7. If you would like your seed to be shiny, add a layer of Modge Podge once the paint is dry.
8. When Modge Podge is completely dry (it will take a couple of hours), it’s sweet to write a little message on the bottom of the seed with a thin-tipped Sharpie marker.
Hmm. What message? You could write, be happy, be kind, smile, love…maybe your child will have a good idea too!
9. If you’re giving the seeds as a gift, it’s sweet to package them up in a small linen bag that can be decorated with markers or small stamps. This is also a wonderful way to extend the activity.
When we do something with our hands and with love in our hearts, we are doing a mitzvah! This is the Jewish value G’milut Chasadim - an act of kindness that comes from your heart.
We loved making these silly “Seeds of Happiness” and we can’t wait to start giving them away! Let us know if you make them in the comments below, and share with us any other activities that you like to do with your kiddos to spread happiness and smiles all around!
For more kindness activities (G’milut Chasadim), be sure to read about DIY butterfly kindness rocks, little loaves of love - a special challah delivery, and DIY mitzvah superhero capes. Be sure to visit our Winter Round-up for even more ways to celebrate the arrival of a new season!
We hope the glow of the Hanukkah lights stays with you into the new year, and we wish you lots of happiness and smiles.
~Jennifer


